Creating a project with svelte
Let's learn the svelte framework.
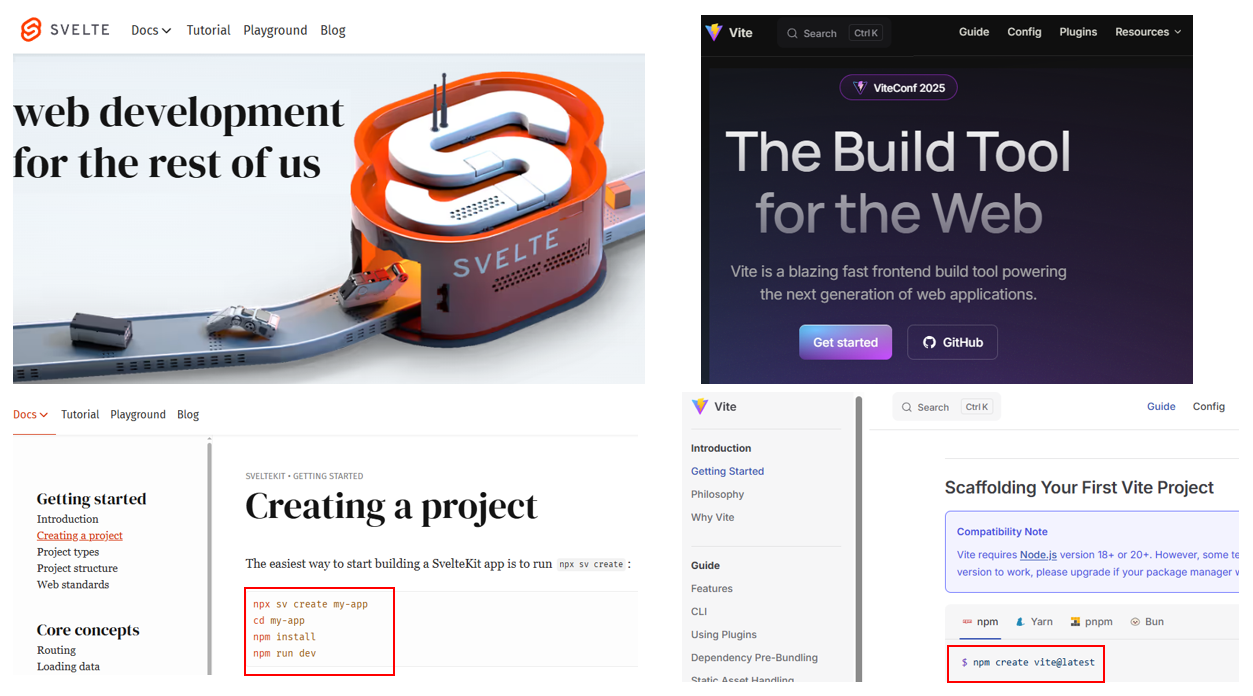
Svelte recommends using SvelteKit to create a new project. Let’s follow that recommendation.
Additionally, there are various frontend frameworks available today such as React, Vue.js, and Svelte. To work across these frameworks more easily, there are frontend tooling solutions that support them all. If you’re planning to explore React or Vue.js alongside Svelte, I recommend using Vite as your development tool.
 Svelte and Vite
Project using Sveltekit
Create Project
The command is simple. Svelte recommends using SvelteKit to create a new project. Just enter the following and proceed. You’ll be prompted to select a framework and a variant.
npx sv create <project-name>
There are various options you can choose from during project creation. I plan to follow the setup based on the relevant packages used in OpenWebUI. For now, let’s proceed with the options below.
SvelteKit minimal,TypeScript,tailwindcss(include plugins(typography)),npm
1
2
3
4
5
6
7
8
9
10
11
12
13
14
15
16
17
18
19
20
21
22
23
24
25
26
27
28
29
30
31
32
33
34
35
36
37
38
PS D:\02.MyCode\GP-MyReference\21.MySvelte> npx sv create 06.svelte-ts-tw-study
┌  Welcome to the Svelte CLI! (v0.8.1)
│
◇  Which template would you like?
│  SvelteKit minimal
│
◇  Add type checking with TypeScript?
│  Yes, using TypeScript syntax
│
◆  Project created
│
◇  What would you like to add to your project? (use arrow keys / space bar)
│  tailwindcss
│
◇  Which plugins would you like to add?
│
◆  Successfully setup add-ons
│
◇  Which package manager do you want to install dependencies with?
│  npm
│
◆  Successfully installed dependencies
│
◇  Project next steps ─────────────────────────────────────────────────────╮
│                                                                          │
│  1: cd 06.svelte-ts-tw-study                                             │
│  2: git init && git add -A && git commit -m "Initial commit" (optional)  │
│  3: npm run dev -- --open                                                │
│                                                                          │
│  To close the dev server, hit Ctrl-C                                     │
│                                                                          │
│  Stuck? Visit us at https://svelte.dev/chat                              │
│                                                                          │
├──────────────────────────────────────────────────────────────────────────╯
│
└  You're all set!

PS D:\02.MyCode\GP-MyReference\21.MySvelte>
The directory structure of the generated project is as follows.
1
2
3
4
5
6
7
8
9
10
11
12
13
14
15
16
17
18
19
20
21
22
23
24
25
26
27
28
03.svelte-typescript-tailwindcss-study/
│
├── .svelte-kit/                   # SvelteKit's build and runtime internals (created after build)
├── node_modules/                  # Installed npm dependencies
│
├── src/                           # Source code directory
│   ├── lib/                       # Optional: reusable components, utilities, etc.
│   │   └── index.ts              # Entry point or shared utilities
│   │
│   ├── routes/                    # SvelteKit routes (mapped to URLs)
│   │   ├── +layout.svelte        # Root layout (shared UI, e.g. header/footer)
│   │   └── +page.svelte          # Main page component (mapped to '/')
│   │
│   ├── app.css                   # Global CSS (can be used in app.html)
│   ├── app.d.ts                  # Type declarations for Svelte (auto-generated)
│   └── app.html                  # HTML template used by SvelteKit
│
├── static/                        # Public static files (served as-is)
│   └── favicon.png               # Favicon for the site
│
├── .gitignore                    # Git ignore rules
├── .npmrc                        # npm configuration (e.g. registry, auth)
├── package.json                  # Project metadata and dependencies
├── package-lock.json             # Locked dependency versions
├── README.md                     # Project documentation
├── svelte.config.js              # SvelteKit configuration (includes adapter setup)
├── tsconfig.json                 # TypeScript compiler options
└── vite.config.ts                # Vite configuration (bundler settings)
Running Project
npm run dev
1
2
3
4
5
6
7
8
9
10
11
PS D:\02.MyCode\GP-MyReference\21.MySvelte\06.svelte-ts-tw-study> npm run dev

> 06.svelte-ts-tw-study@0.0.1 dev
> vite dev

  VITE v6.2.6  ready in 1065 ms

  ➜  Local:   http://localhost:5173/
  ➜  Network: use --host to expose
  ➜  press h + enter to show help
 Run Project
Modify and Install Packages
I’ll configure the Dockerfile in a way that runs the Node.js server directly.
SvelteKit can only be run as a Node.js server when using adapter-node.
If you don’t switch to adapter-node or adapter-static, there won’t be any issues when running npm run dev, but the bundling process won’t proceed during npm run build. In other words, the build directory won’t be created, so you won’t be able to run node build.
Modify svelte.config.ts
- import adapter from '@sveltejs/adapter-auto;
+ import adapter from '@sveltejs/adapter-node;npm install -D @sveltejs/adapter-node
1
2
3
4
5
6
7
8
9
10
11
12
13
14
15
16
17
18
19
20
// import adapter from '@sveltejs/adapter-auto';
import adapter from '@sveltejs/adapter-node';
// import adapter from '@sveltejs/adapter-static';
import { vitePreprocess } from '@sveltejs/vite-plugin-svelte';

/** @type {import('@sveltejs/kit').Config} */
const config = {
	// Consult https://svelte.dev/docs/kit/integrations
	// for more information about preprocessors
	preprocess: vitePreprocess(),

	kit: {
		// adapter-auto only supports some environments, see https://svelte.dev/docs/kit/adapter-auto for a list.
		// If your environment is not supported, or you settled on a specific environment, switch out the adapter.
		// See https://svelte.dev/docs/kit/adapters for more information about adapters.
		adapter: adapter()
	}
};

export default config;
1
2
3
4
5
6
7
8
9
10
11
12
13
14
PS D:\02.MyCode\GP-MyReference\21.MySvelte\06.svelte-ts-tw-study> npm install -D @sveltejs/adapter-node

added 17 packages, changed 1 package, and audited 218 packages in 10s

55 packages are looking for funding
  run `npm fund` for details

4 low severity vulnerabilities

To address all issues (including breaking changes), run:
  npm audit fix --force

Run `npm audit` for details.
PS D:\02.MyCode\GP-MyReference\21.MySvelte\06.svelte-ts-tw-study>
Build Project
npm run build
An output directory is created inside .svelte-kit, and the build results are generated in the client and server directories respectively. At the same time, bundling is performed and the build directory is also created.
Two separate builds were done:
- SSR (Server-Side Rendering) build
- Client-side (browser) build
1
2
3
4
5
6
7
8
9
10
11
12
13
14
15
16
17
18
19
20
21
22
23
24
25
26
27
28
29
30
31
32
33
34
35
36
37
38
39
40
PS D:\02.MyCode\GP-MyReference\21.MySvelte\06.svelte-ts-tw-study> npm run build

> 06.svelte-ts-tw-study@0.0.1 build
> vite build

vite v6.2.6 building SSR bundle for production...
✓ 158 modules transformed.
vite v6.2.6 building for production...
✓ 135 modules transformed.
.svelte-kit/output/client/_app/version.json                        0.03 kB │ gzip:  0.05 kB
.svelte-kit/output/client/.vite/manifest.json                      2.77 kB │ gzip:  0.55 kB
.svelte-kit/output/client/_app/immutable/assets/0.B9Zmw5mq.css     4.02 kB │ gzip:  1.35 kB
.svelte-kit/output/client/_app/immutable/chunks/BDmovnSk.js        0.03 kB │ gzip:  0.05 kB
.svelte-kit/output/client/_app/immutable/entry/start.CHlKZRH5.js   0.08 kB │ gzip:  0.09 kB
.svelte-kit/output/client/_app/immutable/nodes/2.zdl08ncA.js       0.32 kB │ gzip:  0.24 kB
.svelte-kit/output/client/_app/immutable/chunks/CaZiyhDd.js        0.32 kB │ gzip:  0.25 kB
.svelte-kit/output/client/_app/immutable/nodes/0.3MIRLiEe.js       0.33 kB │ gzip:  0.24 kB
.svelte-kit/output/client/_app/immutable/chunks/DAizLlb4.js        0.99 kB │ gzip:  0.57 kB
.svelte-kit/output/client/_app/immutable/nodes/1.mL3Upro_.js       1.05 kB │ gzip:  0.61 kB
.svelte-kit/output/client/_app/immutable/chunks/D91VdCqg.js        2.47 kB │ gzip:  1.36 kB
.svelte-kit/output/client/_app/immutable/entry/app.Cf3f5Ds4.js     7.57 kB │ gzip:  3.61 kB
.svelte-kit/output/client/_app/immutable/chunks/DUfEYuyN.js       14.79 kB │ gzip:  5.95 kB
.svelte-kit/output/client/_app/immutable/chunks/-J7GdZC9.js       32.32 kB │ gzip: 12.59 kB
✓ built in 367ms
.svelte-kit/output/server/.vite/manifest.json                           1.60 kB
.svelte-kit/output/server/_app/immutable/assets/_layout.KgHW8DOi.css    3.90 kB
.svelte-kit/output/server/entries/pages/_layout.svelte.js               0.17 kB
.svelte-kit/output/server/entries/pages/_page.svelte.js                 0.23 kB
.svelte-kit/output/server/internal.js                                   0.31 kB
.svelte-kit/output/server/entries/fallbacks/error.svelte.js             1.87 kB
.svelte-kit/output/server/chunks/index.js                               3.86 kB
.svelte-kit/output/server/chunks/exports.js                             6.88 kB
.svelte-kit/output/server/chunks/internal.js                           50.01 kB
.svelte-kit/output/server/index.js                                    106.31 kB
✓ built in 2.04s

Run npm run preview to preview your production build locally.

> Using @sveltejs/adapter-node
  ✔ done
1
2
3
4
5
6
7
8
9
10
11
12
13
14
15
16
17
18
19
20
21
22
23
24
25
26
27
28
29
30
.svelte-kit/
└── output/
    ├── client/
    │   ├── _app/
    │   ├── .vite/
    │   └── favicon.png
    └── server/
        ├── .vite/
        ├── chunks/
        ├── entries/
        ├── nodes/
        ├── stylesheets/
        ├── index.js
        ├── internal.js
        ├── manifest-full.js
        └── manifest.js
build/
├── client/
│   ├── _app/
│   └── favicon.png
└── server/
	├── chunks/
	├── index.js
	├── index.js.map
	├── manifest.js
	└── manifest.js.map
├── env.js
├── handler.js
├── index.js     # Note. When you run `node build`, it executes `node ./build/index.js`.
└── shims.js
Make dockerfile
1
2
3
4
5
6
7
8
9
10
11
12
13
14
15
16
17
18
19
20
21
22
23
24
25
26
27
28
29
30
31
32
33
34
35
36
37
# --- Stage 1: Build Stage ---
FROM node:20 AS builder

# Set working directory
WORKDIR /app

# Copy package files
COPY package*.json ./

# Install dependencies
RUN npm install

# Copy the rest of the source code
COPY . .

# Build the SvelteKit project
RUN npm run build

# --- Stage 2: Production Stage ---
FROM node:20-slim

# Set working directory
WORKDIR /app

# Copy package.json files for production install
COPY package*.json ./

# Install only production dependencies
RUN npm install --omit=dev

# Copy build output from builder
COPY --from=builder /app/build ./build
COPY --from=builder /app/.svelte-kit ./.svelte-kit
COPY --from=builder /app/static ./static

# Start the server
CMD ["node", "build"]
Build image and Run container
docker build -t svelte-ts-tw-study .docker run -p 3000:3000 --name svelte-ts-tw-study svelte-ts-tw-study
1
2
3
4
5
6
7
8
9
10
11
12
13
14
15
16
17
18
19
20
21
22
23
24
25
26
27
28
29
(base) jaoneol@DESKTOP-B7GM3C5:/mnt/d/02.MyCode/GP-MyReference/21.MySvelte/06.svelte-ts-tw-study$ docker build -t svelte-ts-tw-study .
[+] Building 20.0s (20/20) FINISHED                                                                                                                                               docker:default
 => [internal] load build definition from dockerfile                                                                                                                                        0.0s
 => => transferring dockerfile: 784B                                                                                                                                                        0.0s
 => [internal] load metadata for docker.io/library/node:20                                                                                                                                  1.6s
 => [internal] load metadata for docker.io/library/node:20-slim                                                                                                                             1.6s
 => [auth] library/node:pull token for registry-1.docker.io                                                                                                                                 0.0s
 => [internal] load .dockerignore                                                                                                                                                           0.0s
 => => transferring context: 2B                                                                                                                                                             0.0s
 => [builder 1/6] FROM docker.io/library/node:20@sha256:a5fb035ac1dff34a4ecaea85f90f7321185695d3fd22c12ba12f4535a4647cc5                                                                    0.0s
 => [internal] load build context                                                                                                                                                          10.3s
 => => transferring context: 104.94MB                                                                                                                                                      10.2s
 => [stage-1 1/7] FROM docker.io/library/node:20-slim@sha256:5cfa999422613d3b34f766cbb814d964cbfcb76aaf3607e805da21cccb352bac                                                               0.0s
 => CACHED [stage-1 2/7] WORKDIR /app                                                                                                                                                       0.0s
 => [stage-1 3/7] COPY package*.json ./                                                                                                                                                     0.3s
 => CACHED [builder 2/6] WORKDIR /app                                                                                                                                                       0.0s
 => [builder 3/6] COPY package*.json ./                                                                                                                                                     0.3s
 => [stage-1 4/7] RUN npm install --omit=dev                                                                                                                                                1.3s
 => [builder 4/6] RUN npm install                                                                                                                                                           4.1s
 => [builder 5/6] COPY . .                                                                                                                                                                  0.7s
 => [builder 6/6] RUN npm run build                                                                                                                                                         2.5s
 => [stage-1 5/7] COPY --from=builder /app/build ./build                                                                                                                                    0.1s
 => [stage-1 6/7] COPY --from=builder /app/.svelte-kit ./.svelte-kit                                                                                                                        0.1s
 => [stage-1 7/7] COPY --from=builder /app/static ./static                                                                                                                                  0.1s
 => exporting to image                                                                                                                                                                      0.1s
 => => exporting layers                                                                                                                                                                     0.1s
 => => writing image sha256:57940970d6ee0dea0947aeaf8109acbea92475bf3144c08ca50d121b7e49f6e7                                                                                                0.0s
 => => naming to docker.io/library/svelte-ts-tw-study                                                                                                                     0.0s
(base) jaoneol@DESKTOP-B7GM3C5:/mnt/d/02.MyCode/GP-MyReference/21.MySvelte/06.svelte-ts-tw-study$
1
2
(base) jaoneol@DESKTOP-B7GM3C5:/mnt/d/02.MyCode/GP-MyReference/21.MySvelte/06.svelte-ts-tw-study$ docker run -p 3000:3000 --name svelte-ts-tw-study svelte-ts-tw-study
Listening on http://0.0.0.0:3000
Project Structure Overview
Structure of svelte
The structure of a Svelte file is as follows. It consists of three main sections: script, main, and style, each serving the following purpose:
1
2
3
4
5
6
7
8
9
10
11
12
<script>
  // JavaScript section: handles the logic
  // For example: click events, data processing, API calls, etc.
</script>

<main>
  <!-- HTML section: defines the main content of the web page -->
</main>

<style>
  // CSS section: defines the styles
</style>
Useful VSCode Extensions
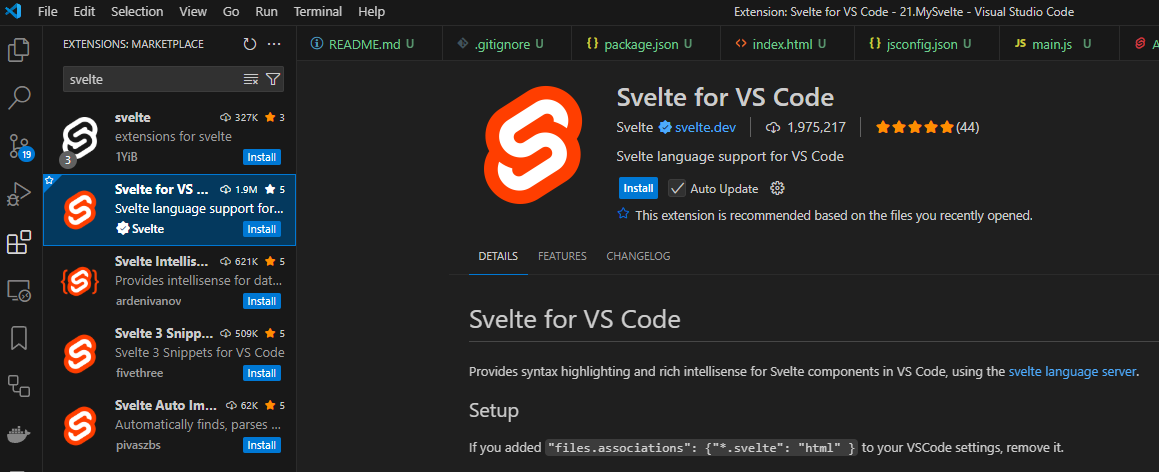
Svelte for VS Code
Svelte for VS Code is an extension that helps you develop more efficiently with the Svelte framework in the Visual Studio Code editor. Let’s install it.
 Svelte for VS Code
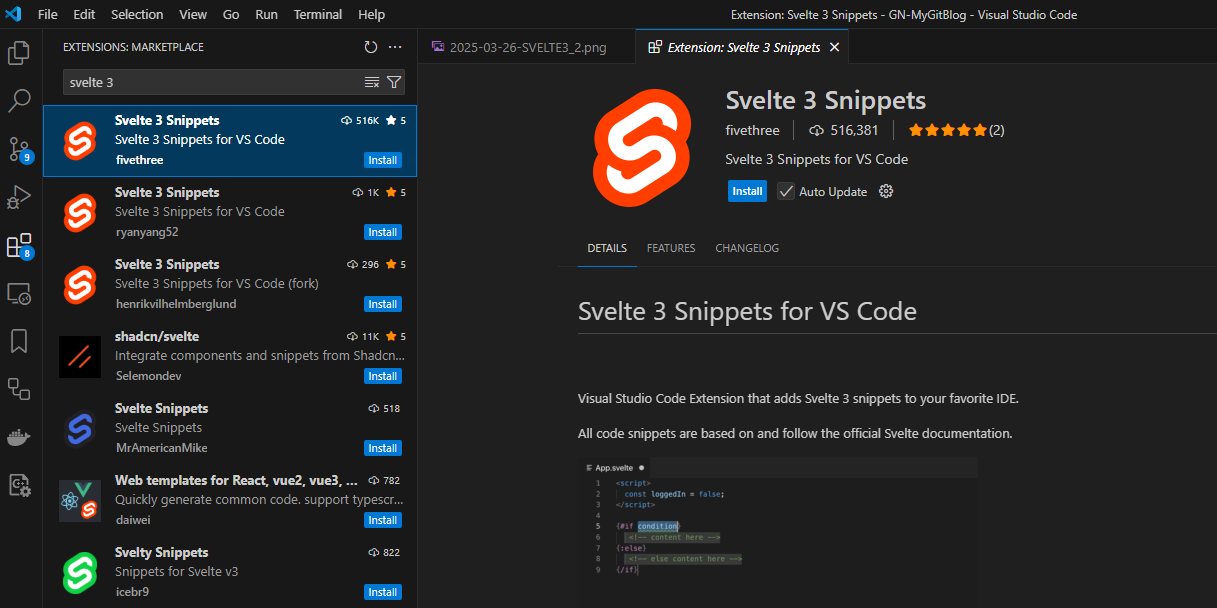
Svelte 3 Snippets
Svelte 3 Snippets is an extension that helps you easily insert commonly used code patterns into .svelte files using autocomplete functionality. It is primarily designed for Svelte version 3 and allows you to quickly write repetitive code blocks. Let’s install it.
 Svelte 3 Snippets
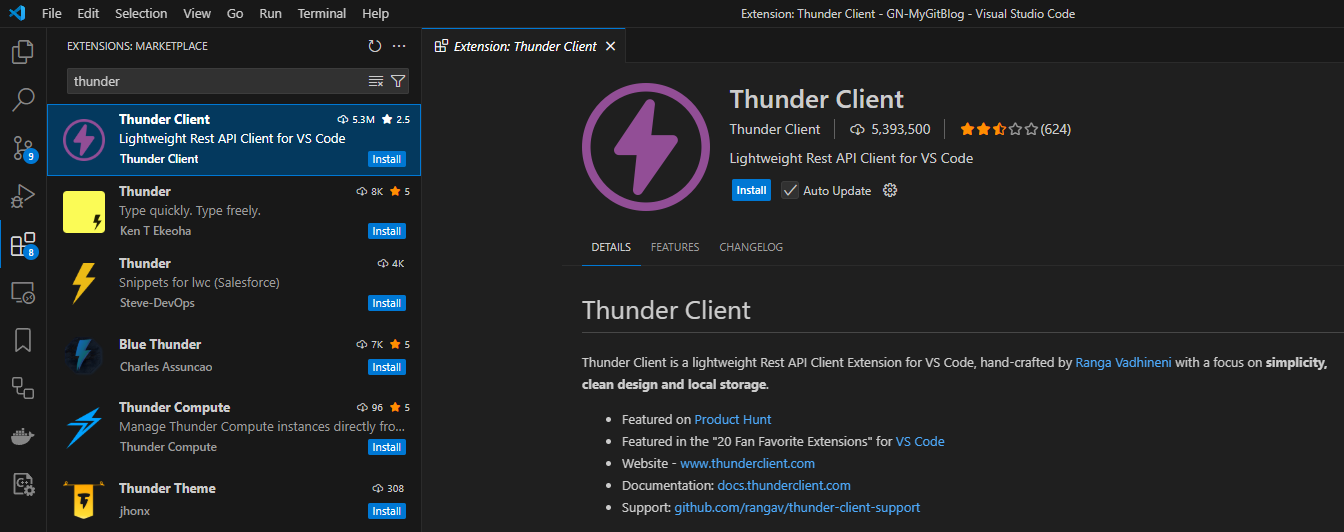
Thunder Client
Thunder Client is a REST API client extension for VSCode. It offers functionality similar to Postman but is lighter, faster, and integrated directly into VSCode, making it a great tool for testing APIs during development. Let’s install it.
 Thunder Client
Ref. Project using Vite(Not recommended for me)
The command is also simple. If you’re exploring multiple frameworks or just want to understand how Vite works, then npm create vite@latest is a flexible choice(Not recommended for me.).
npm create vite@latest
1
2
3
4
5
6
7
8
9
10
11
12
13
14
15
16
17
18
19
20
21
22
23
24
25
26
27
PS D:\02.MyCode\GP-MyReference\21.MySvelte> npm create vite@latest
Need to install the following packages:
create-vite@6.3.1
Ok to proceed? (y) y

> npx
> cva

│
◇  Project name:
│  svelte-javascript-vite-project
│
◇  Select a framework:
│  Svelte
│
◇  Select a variant:
│  JavaScript
│
◇  Scaffolding project in D:\02.MyCode\GP-MyReference\21.MySvelte\velte-javascript-vite-project...
│
└  Done. Now run:

  cd svelte-javascript-vite-project  # Move the project directory.
  npm install   # Installs the packages related to the project.
  npm run dev   # Runs the development server.

PS D:\02.MyCode\GP-MyReference\21.MySvelte>
The directory structure of the generated project is as follows.
1
2
3
4
5
6
7
8
9
10
11
12
13
14
15
16
17
18
/svelte-javascript-vite-project
├── /.vscode
├── /public
│	└── vite.svg
├── /src
│   ├── /assets
│   ├── /lib
│   ├── app.css
│   ├── App.svelte
│   ├── main.js
│   └── vite-env.d.ts
├── .gitignore
├── index.html
├── jsconfig.json
├── package.json
├── README.md
├── svelte.config.js
└── vite.config.js
Once the project has been created, follow the steps below.
cd svelte-javascript-vite-project# Move the project directory.npm install# Installs the packages related to the project.
npm install --verbose# to see detailed information during package installationnpm run dev# Runs the development server.
1
2
3
4
5
6
7
8
9
10
11
12
13
14
15
16
17
PS .. \21.MySvelte> cd svelte-javascript-vite-project
PS .. \svelte-javascript-vite-project> npm install
up to date, audited 37 packages in 642ms
3 packages are looking for funding
  run `npm fund` for details
found 0 vulnerabilities
PS .. \svelte-javascript-vite-project> npm run dev
> svelte-javascript-vite-project@0.0.0 dev
> vite

오전 11:18:10 [vite] (client) Forced re-optimization of dependencies

  VITE v6.2.3  ready in 578 ms

  ➜  Local:   http://localhost:5173/
  ➜  Network: use --host to expose
  ➜  press h + enter to show help
The directory structure of the project, including the added files, is as follows.
1
2
3
4
5
6
7
8
9
10
11
12
13
14
15
16
17
18
19
20
/svelte-javascript-vite-project
├── /.vscode
├── /node_modules # adding
├── /public
│	└── vite.svg
├── /src
│   ├── /assets
│   ├── /lib
│   ├── app.css
│   ├── App.svelte
│   ├── main.js
│   └── vite-env.d.ts
├── .gitignore
├── index.html
├── jsconfig.json
├── package-lock.json # adding
├── package.json
├── README.md
├── svelte.config.js
└── vite.config.js
 My Svelte Page